Ingredients:
Biscuit dough that needs to be kept cold: 1 container (16oz) that makes it easy and fast to prepare cheese bombs.
Mozzarella cheese: 4 ounces, either soft, shredded, or cut into pieces, for a gooey and tasty filling.
Melted butter: 4 tablespoons (half a stick), for the garlic butter topping.
Garlic Powder: 1 teaspoon, for a tasty garlic taste.
Italian Seasoning: Use 1 teaspoon for a mix of herbs that go well with cheese.
Salt: A little bit to make the cheese bombs taste better.
Instructions:
First step:
Heat your oven to 400°F (200°C) before using it. Cover a baking sheet with parchment paper to avoid food sticking and to make cleaning up simpler.
Second step:
Take the cookies out of the box and put them on a clean surface. Put the same amount of cheese on each biscuit. You can use 4 ounces of soft mozzarella cut into 8 pieces, shredded mozzarella, or diced string cheese. You can also use cheddar cheese if you like a different taste.
Third Step:
Wrap the biscuit dough around the cheese and press the edges together tightly to seal them. This makes sure the cheese stays in place while baking.
Fourth Step:
Put each closed ball of dough, with the seam facing down, on the baking sheet that has been prepared. This helps keep the cheese bombs in shape while they are baking.
Fifth Step:
Cook the cheese bombs in the oven that has been heated up beforehand for 10-12 minutes, or until the dough becomes golden brown. The longer you cook them, the more melted the cheese will be on the inside. Watch them closely to prevent them from getting too brown.
Step 6: Sixth Step
While the cheese bombs are in the oven, make the garlic butter. Heat the butter in the microwave until it melts, then mix in the garlic powder, Italian seasoning, and a little salt until everything is well mixed.
Seventh Step:
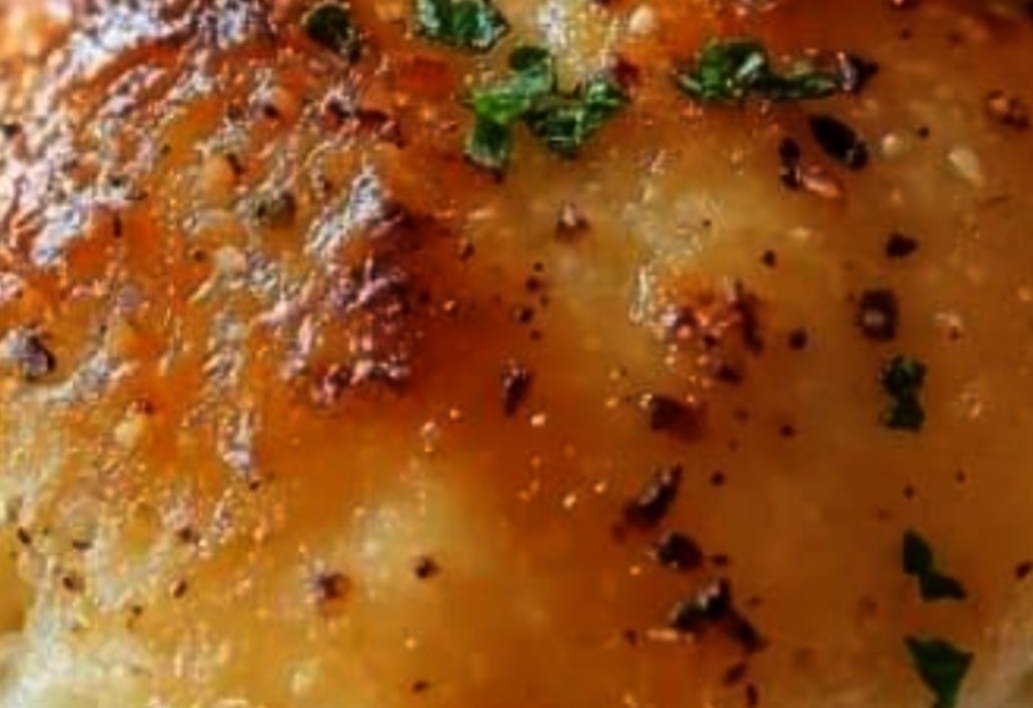
Once the cheese bombs are done baking, spread a lot of the garlic butter mixture on each one. This gives a tasty taste and a nice gloss.
Eighth Step:
Serve the cheese bombs hot and right away. They taste best when eaten fresh from the oven to enjoy the melted cheese. Have fun!
Tips for serving and storing food.
These simple Garlic Butter Cheese Bombs are most delicious when eaten fresh and warm right out of the oven. The melted cheese inside and the crispy crust make them impossible to resist. They are great to eat before a meal, with a meal, or as a quick bite. To give it a little something extra, add some fresh parsley on top for a pop of color and more taste. If you have any extra food, put it in a sealed container in the fridge for up to 3 days. To warm them up, put them in an oven that is already hot at 350°F for around 5 minutes or until they are heated.
Useful Tips
If you like another type of cheese, you can choose cheddar, provolone, or a mix of cheeses for a special taste. To make the cheese bombs tastier, you can add a bit of red pepper flakes to the garlic butter mixture for a little spicy touch. For a fun variation, you can fill the biscuits with ingredients like pepperoni slices or cooked bacon bits in addition to the cheese. These differences can bring a nice surprise with each mouthful.
Advice from famous cooks
Chef Bobby Flay recommends adding fresh herbs such as basil or oregano to the garlic butter for a touch of freshness.
Chef Giada De Laurentius suggests using top-quality mozzarella for the most delicious melting consistency and taste.
Chef Ina Garten recommends brushing the cheese bombs with more garlic butter before serving to add extra flavor and a glossy finish.
Enjoy!